Mini heart cookies to decorate cupcakes

For this Valentine's Day we have prepared a very sweet recipe, with the typical butter cookie recipe we have made some red heart-shaped cookies .
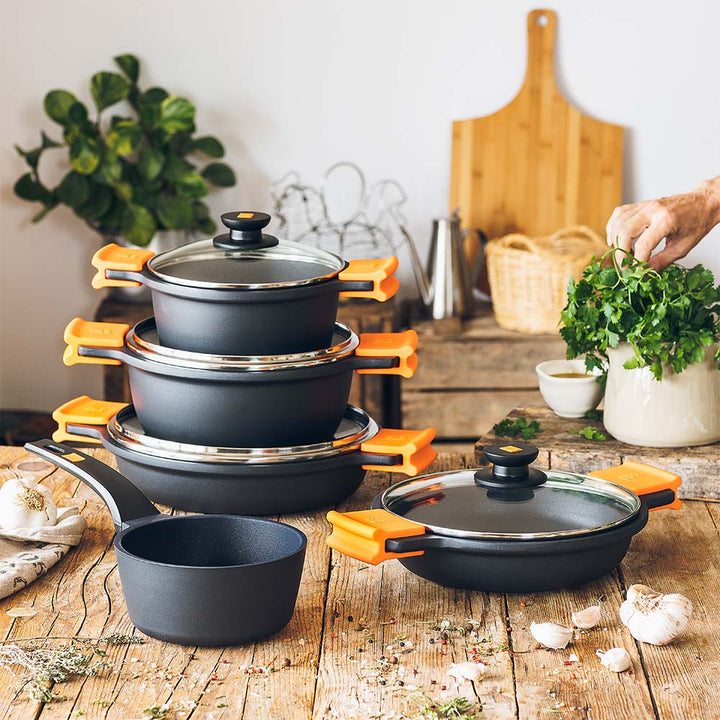
If you look at the image, the cookies are perfectly flat, to get them to come out like this we need a good non-stick base to bake them and a few more tricks that we explain below.
If you want cupcake recipes you can check these here: vanilla cupcake recipe, chocolate cupcake recipe or for this occasion, what better than some red velvet cupcakes .


Ingredients
(from here you can make a few small cookies and if you have leftover dough to make large cookies)
- 225 gr of butter at room temperature (I recommend white brand, they are softer)
- 150 gr of icing sugar
- 1 egg size M (or smaller)
- 1 or 2 teaspoons of aroma, extract or essence (vanilla or almond), I use vanilla extract from Madagascar.
- 1⁄2 teaspoon salt
- 400-420 gr of flour (especially that is not force, you have to look at the label, in ingredients it must indicate that the proteins are less than 10 gr)
- Red food coloring (we recommend the Extra Red from Sugarflair, you will find it in pastry shops).
Necessary material
- Rod blender / mixer / magimix or any kitchen robot
- Oven
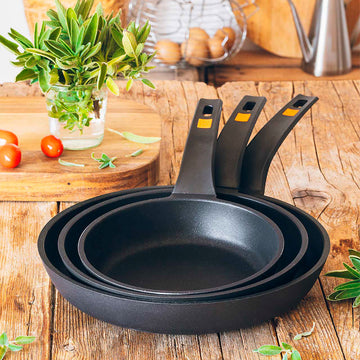
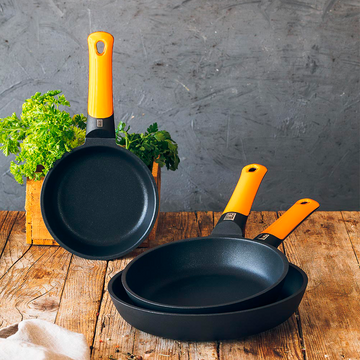
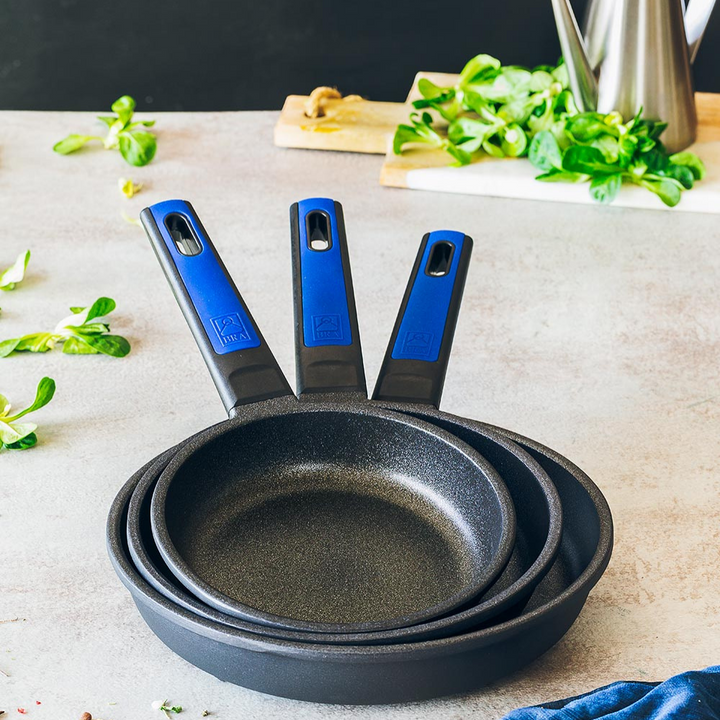
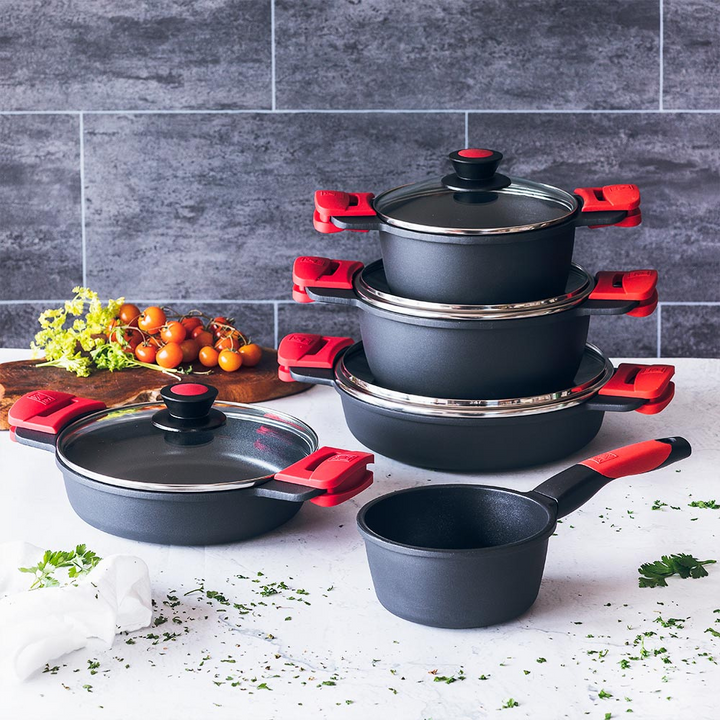
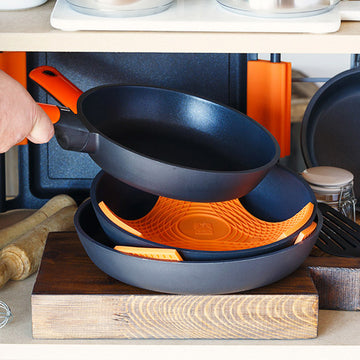
- Non-stick baking tray (Efficient by BRA) (if your tray is not non-stick, you should put baking paper)
- Mini heart cookie cutters (we used 1cm ones)
- Roller
- Wooden strips to level the dough (between 5-6 mm)
Following the images in the photo above, in order from left to right and top to bottom:
1. Put the butter in our food processor and beat for a few seconds at medium-low speed (speed 3 on a scale of 0 to 19) until a paste forms, about 5-7 seconds. Be careful, we should not overdo it, otherwise the butter will melt, only to form a paste.
2. Add the icing sugar and beat again at the same speed, just to mix it for a few seconds (3 or 4 seconds).
3. Break the egg into a bowl (we don't want any shell residue in our batter) and add it to the butter mixture along with the vanilla extract and salt. We beat again at medium low speed for a few seconds (it will seem that we have a kind of cut pasta, do not worry, it is normal).
4. Add half the flour and mix again for a few seconds at speed 3.
5. Add the rest of the flour and beat again until we have everything mixed (it doesn't need to be too mixed, we'll finish it with our hands).
6. Sprinkle our silicone mat with flour (if we don't have it, we use baking paper) and put the dough on it (you will see that they are some goops).
7. Kneading: Knead it carefully, if you see that it sticks to the mat or to your hands, you can put the dough in the fridge for half an hour but try to knead it with your hands as much as possible. If we want to color our dough, now is the time to gradually add the dye, without going overboard. I recommend that you do it for a small amount of dough and reserve the rest to make cookies without color.
8. We continue kneading and end up forming a ball with our dough.
9. We place our wooden strips (or any stop that has 5 or 6 mm) next to the dough and begin to stretch with a rolling pin. Do not forget to sprinkle with a little flour so that the rolling pin does not stick to you. If you see that the rolling pin is starting to stick to the dough, you can put a baking paper on it and stretch again, it will be perfectly smooth.
Put the cookies on a tray in the fridge and let cool for at least 2 hours.
10. We preheat the oven to 180ºC (without air and with heat from above and below) once the stretched dough has cooled (it is very important that it is very cold), we can start cutting with our cutters. As the dough is very cold, it will easily come out of the cutters.
11. We put them on the baking tray (remember that if your tray is not non-stick like the one we have at BRA, you should put baking paper) and put them in the upper part of the oven for about 8 minutes or until the edges begin to to take color (they should not be toasted), this recipe is to have white cookies, if you like them crunchier, you can leave them a minute more. Keep in mind that the cooking time also varies depending on the size of the cookie, these little ones will be ready in 4 minutes, the normal ones need between 8 and 10 minutes, you should not let them brown too much, when you see that the edges have begun to take color, you must take them out of the oven.
12. Once they are ready, take them out of the oven and let them cool for 3 minutes on the tray and transfer them to a wire rack to finish cooling.

Decorated cookie recipe and step-by-step video at La Cocina de Carolina